Integrated help in the Code Editor
The Code Editor features a help sidebar that can be used both for Macro and Python scripts. The sidebar can offer help for: functions and colour editing.
Function List
Press the Function list button in the toolbar
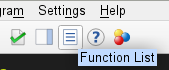
to see the full list of built-in and icon functions in the help sidebar:
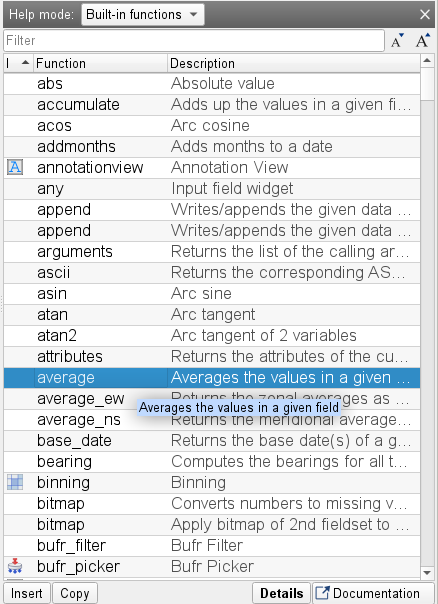
In the function list we have the option of either inserting the selected function into the editor or copying it into the clipboard. If we double-click or press the Details button the function’s help page will be shown (see below).
By pressing the Documentation button the online documentation of the selected function/icon will be opened up in a web browser.
Note
The web browser to show the online documentation is defined by the MV_BROWSER_NAME environment variable. It has to be set before stating up Metview. Buy default firefox is used.
Built-in function help (F1)
The function help can be activated by pressing F1.
Icon functions
If we press F1 on any of the icon functions’ name, or we press the

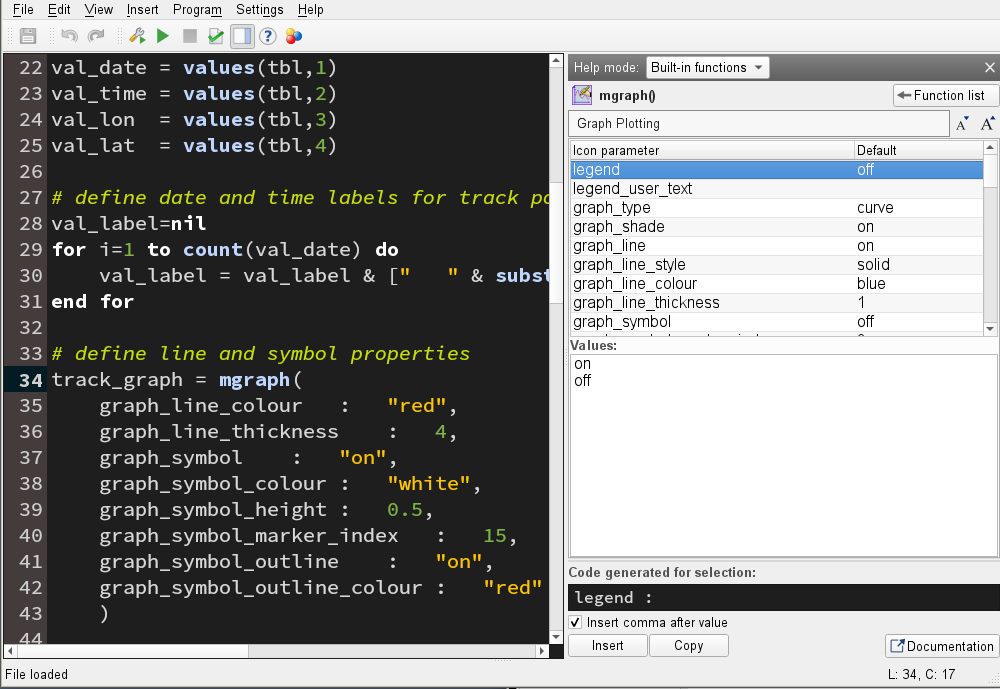
button in the toolbarthe help sidebar will open up showing the icon’s help panel. In the example below the text cursor was located in “mgraph(” when we pressed F1 so the sidebar shows the details of the Graph plotting icon:
Alternatively, if we press F1 on an icon parameter (within an icon function) the help sidebar will show the icon help panel with the given parameter automatically selected in the parameter list. In the example below the text cursor was located in parameter “graph_symbol_outline” (within the icon function mgraph) when we pressed F1:

The icon help panel contains two tabs:
Icon parameters
Icon documentation
The Icon parameters tab
This tab shows the list of all the parameters belonging to the icon:
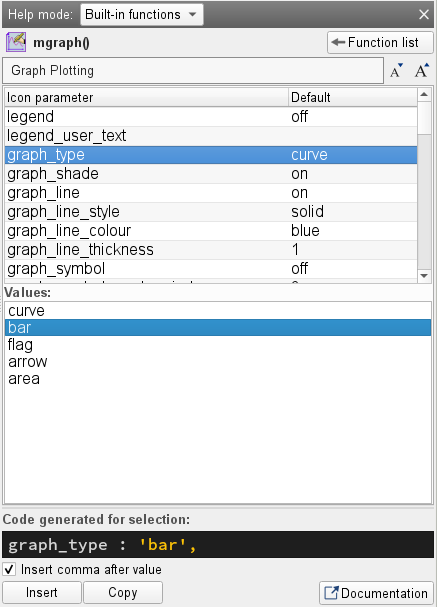
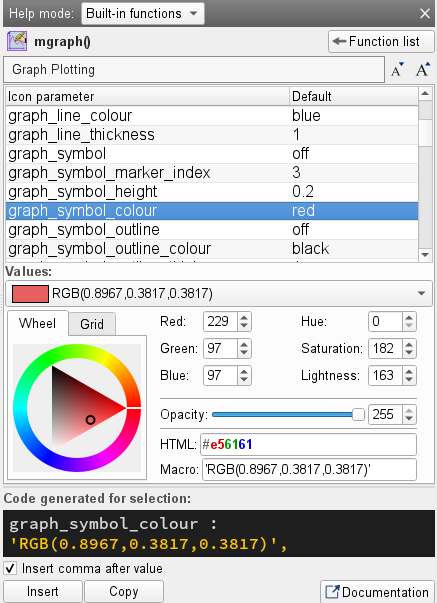
When we click on a parameter in the list the available values of the parameter (if it offers a predefined list of values) will be shown in the Values list. By clicking on a colour parameter the colour editor will appear below the parameter list:
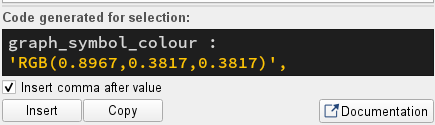
The Code generated for selection section at the bottom of the panel shows a preview of the code generated for the current parameter and its selected value. Using the buttons below this section the text can be either inserted into the code editor or copied into the clipboard.
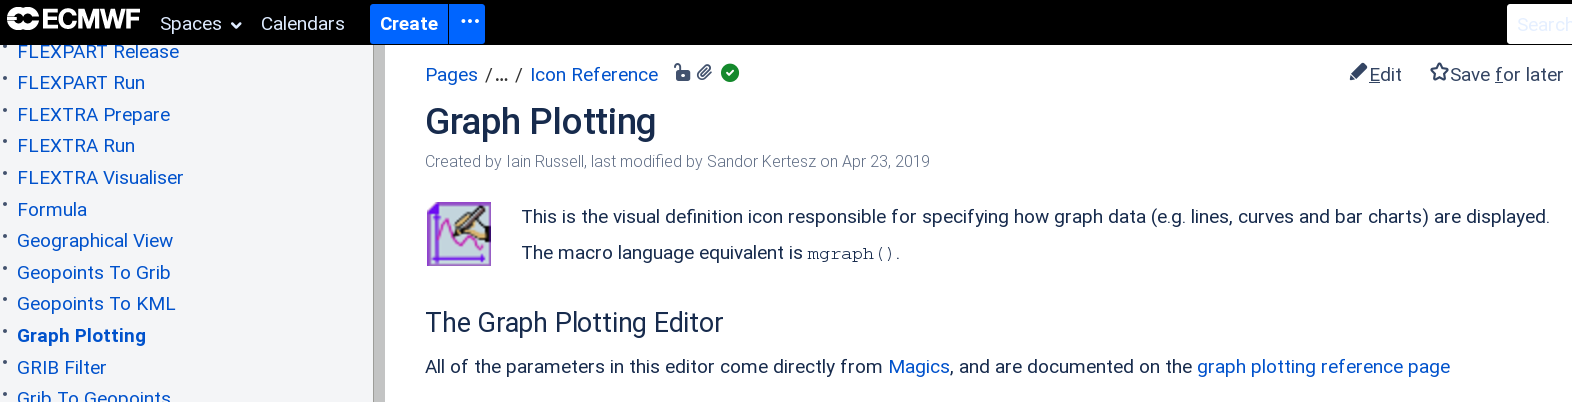
Accessing the documentation
By pressing the Documentation button in the bottom left corner

the icon’s online documentation will be opened in a web browser:
Non-icon functions
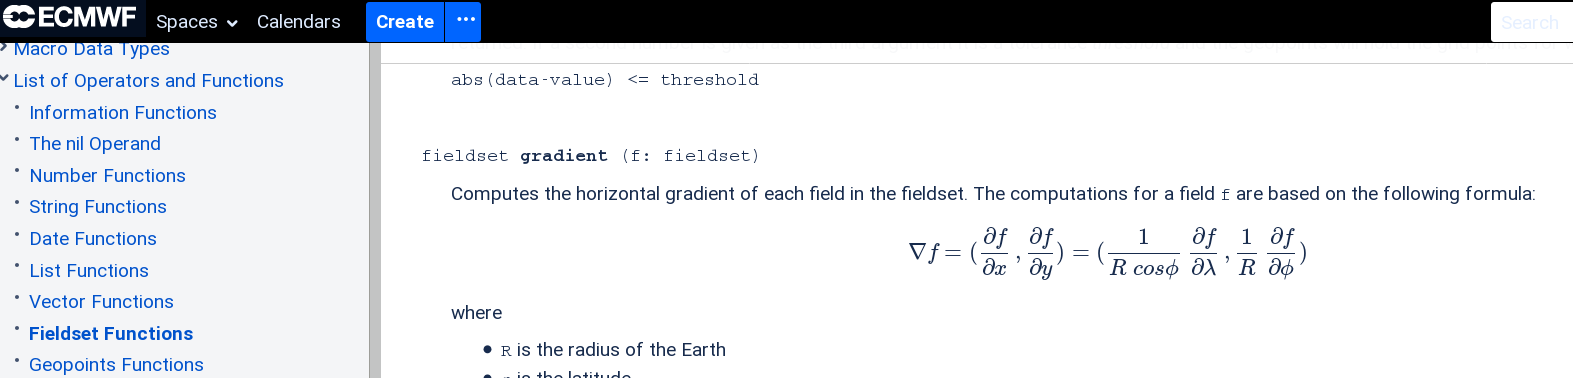
If we press F1 on any of the non-icon functions, or we press the
button in the toolbar in the text editor the help sidebar will show the description of the given function. In the example below the text cursor was located in text “gradient(” when we pressed F1 so the sidebar shows the documentation of function gradient().

Accessing the documentation
By pressing the Documentation button in the bottom right corner
the function’s online documentation will be opened in a web browser:
Functions available for multiple data types
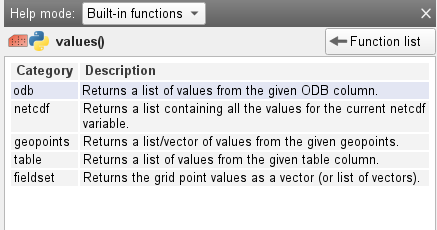
It can happen that a given function can be used with multiple data types and is documented on multiple web pages (e.g. values()). In this case there is a separate entry for each variant in the function list:

and in the function description page :
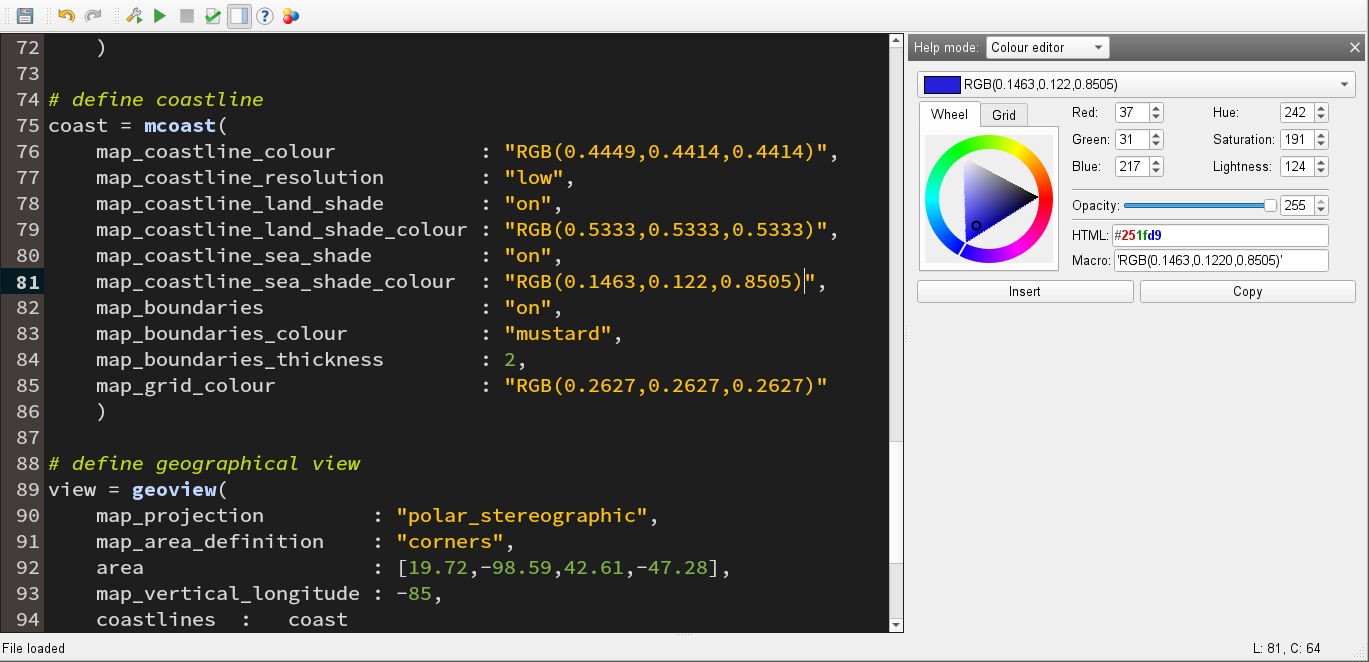
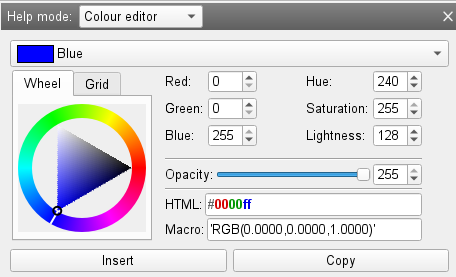
Integrated Colour Editor (F2)
The colour editor can be activated by pressing F2 or clicking on the

icon in the toolbar:
Replacing a colour value in the code
If we want to replace an RGB or RGBA colour value in our code we just need to do the following steps:
First, double-click in the colour’s text to select whole the colour definition.
Next, press F2 to open the colour editor with our colour automatically selected:
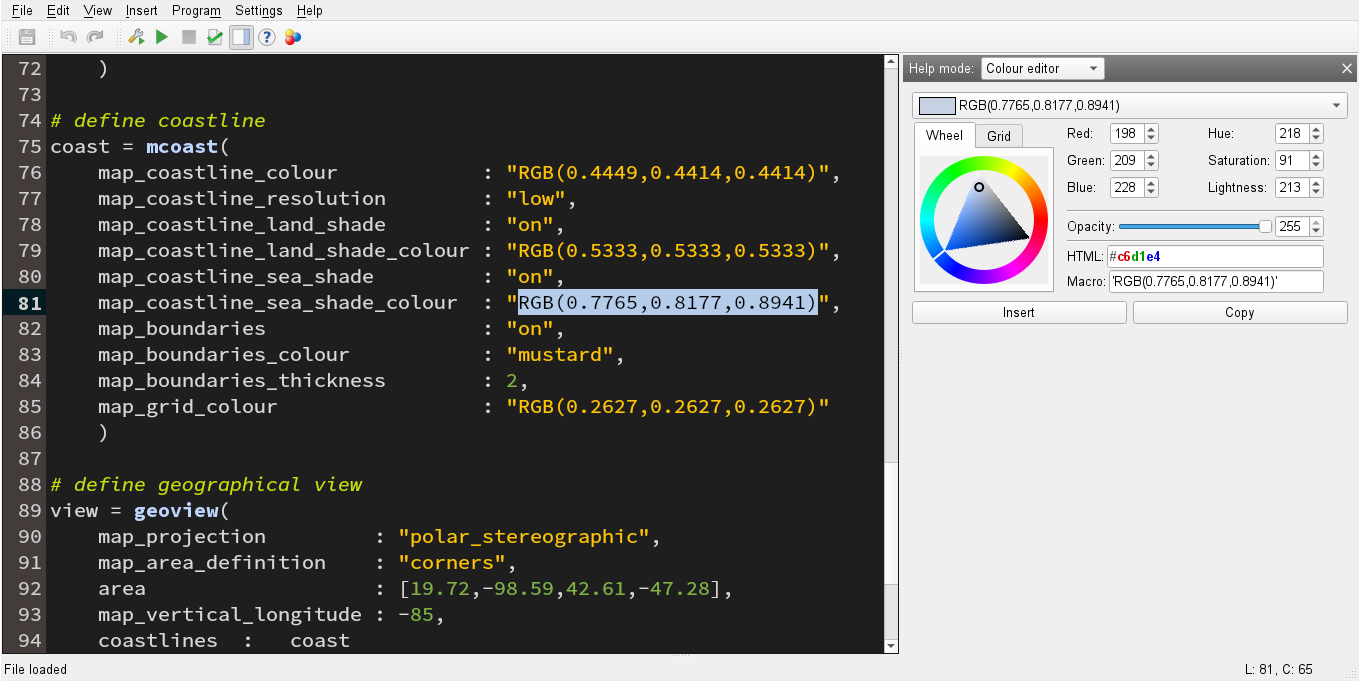
Then, define the new colour.
Finally press Insert to replace the colour in the code: